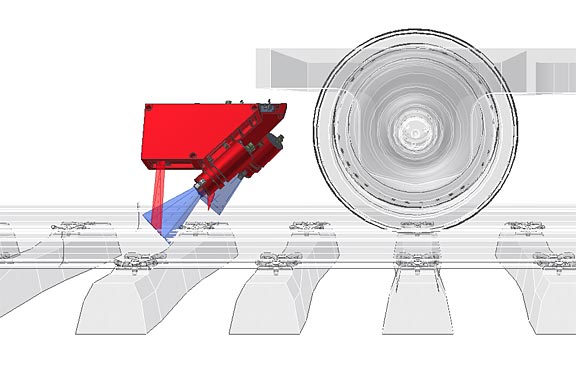
ProfileCheck is a high-precision optical measurement system for the contactless inspection of vertical and cross-sections of railway tracks at a speed of over 200 km/h. The system is used for the early detection of rail damage in areas of the running edge and rail surface thereby enabling reprofiling of the rails at an early stage, which increases the life time considerably.
Recording
The system is based on the measuring principle of contactless laser triangulation. Thanks to a new, patented method, the measurement data is detected especially during the vertical section measurement independent of movements of the sensor in relation to the rail. As a result of this, short and long waves can be measured on the track with the highest precision and quantified with regard to the amplitude part. The cross-section measuring system is used for the precise measurement of the rail head as well as the gauge. The system is able to record and evaluate a complete rail cross-section every 0.096 m at a speed of 160 km/h.
Evaluation / Documentation
During the inspection run, the gauge, the amplitudes of the corrugation and waves as well as the rail head section are displayed visually online. In the fault protocol that is created, faulty track areas are identified to the exact metre by means of the track correlation through the chainage that runs in parallel.
Résumé
The system includes the following features:
- Scalable speed of up to 320 km/h.
- High measuring precision.
- Easy operation; intuitively controllable user interface.
- Modular concept.
- Low maintenance expenditure.
- Easy integration thanks to small space requirements both under and in the vehicle.
- Open system; thereby easy adaption to country-specific database systems or central data acquisition on the vehicles.


 ProfileCheck